Terraform Day 1 : Introduction To Infrastrucure As code (Iac) and Terraform and HCL


Introduction of Iac ?
IAC typically stands for "Infrastructure as Code." Infrastructure as Code is a software engineering practice that involves managing and provisioning computing infrastructure through machine-readable script files, rather than through physical hardware configuration or interactive configuration tools.This involves writing scripts or using domain-specific languages to define and manage infrastructure configurations, making the process more automated, repeatable, and scalable.
Challenges in IT infrastructure ?
Cybersecurity Threats and Data Breaches
Scalability Issues in Growing Organizations
Data Management: Storage, Retrieval, and Backup
Legacy Systems and Integration Challenges
Downtime Mitigation and System Reliability
What Is Terraform ?
Terraform is an open-source Infrastructure as Code (IAC) tool developed by HashiCorp. It enables users to define and provision infrastructure resources using a declarative configuration language. With Terraform, you can describe the infrastructure you need in code, and then Terraform will plan and execute the necessary steps to create and manage those resources.
Use's of terraform
Infrastructure Provisioning
Declarative Configuration
Multi-Cloud Management
Version Control Integration
Scalability
Automation
What Is HCL ?
HCL stands for HashiCorp Configuration Language. It is a configuration language developed by HashiCorp and is used with various HashiCorp tools, including Terraform. HCL is designed to be human-readable and easy to write, making it well-suited for defining infrastructure configurations in a declarative manner.
HCL Syntax
Blocks:
block_type "block_label" {
  # Configuration attributes go here
}
Attributes:
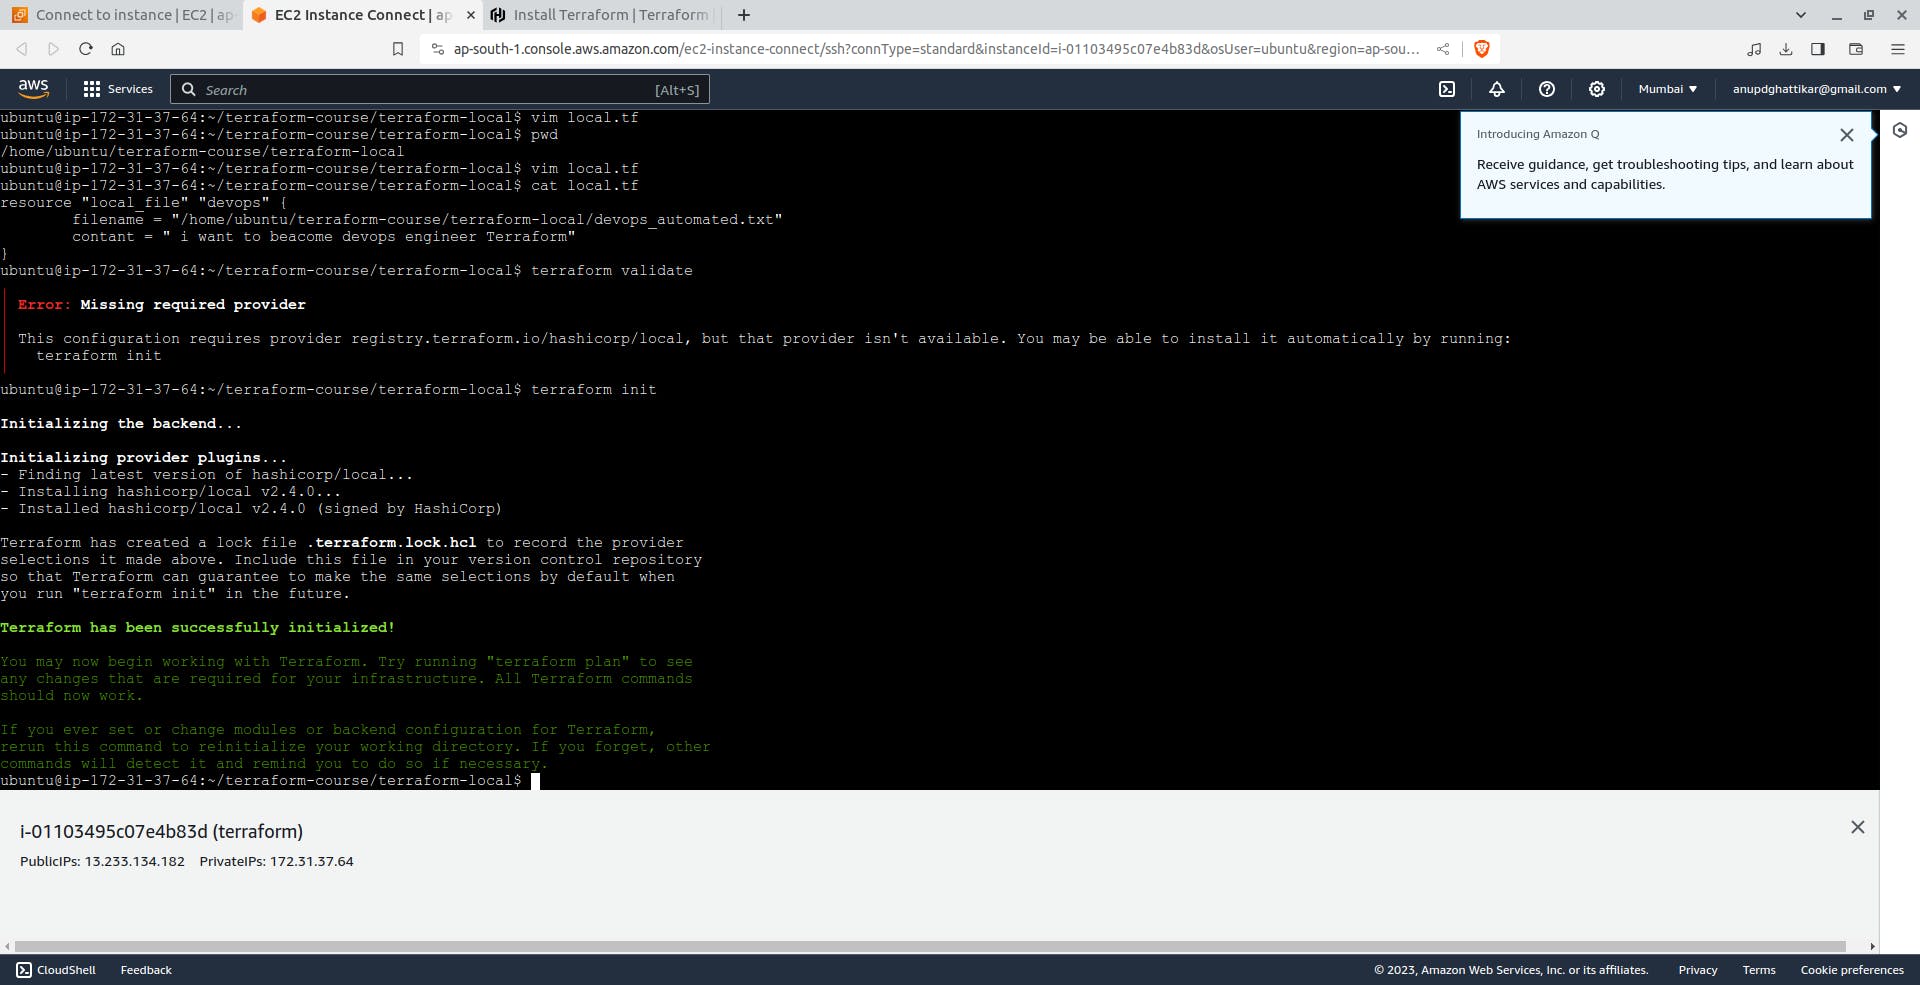
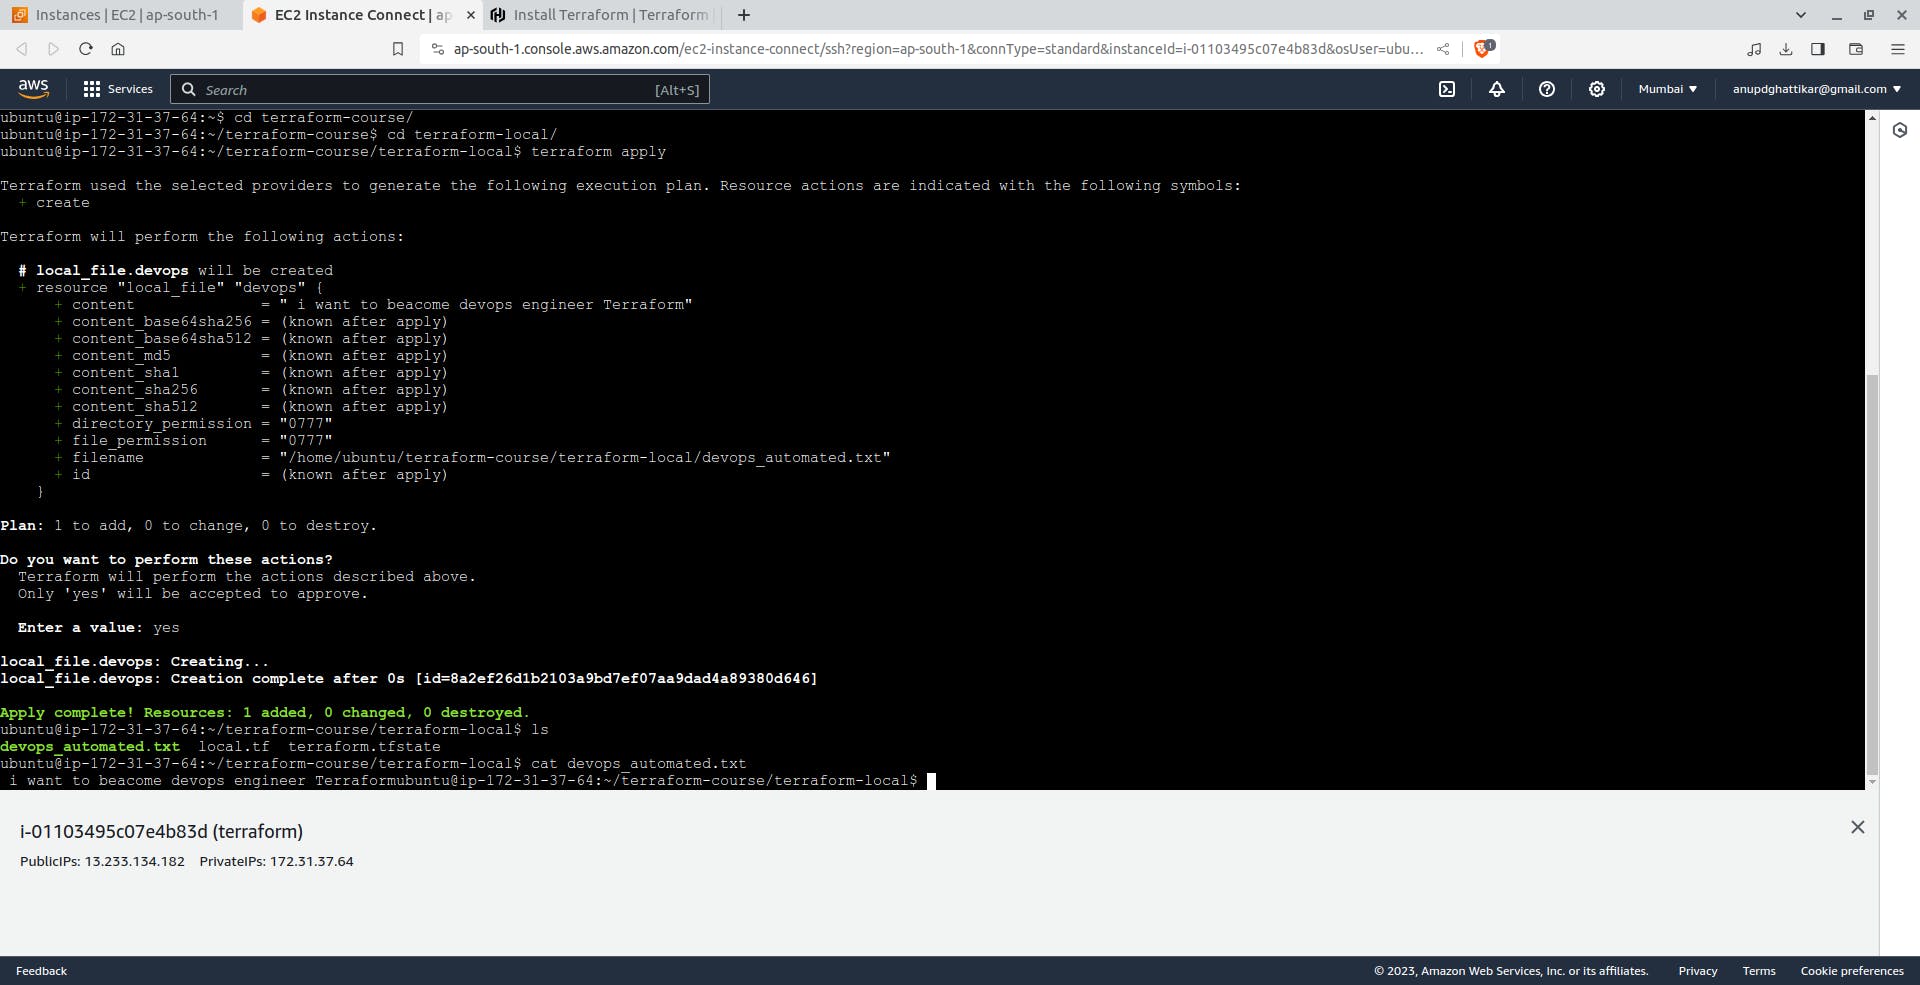
resource "aws_instance" "example" {
ami = "ami-0c55b159cbfafe1f0"
instance_type = "t2.micro"
}
Variables:
variable "region" {
  type    = string
  default = "us-west-2"
}
Expressions:
resource "aws_instance" "example" {
  ami           = "ami-0c55b159cbfafe1f0"
  instance_type = var.instance_type != "" ? var.instance_type : "t2.micro"
}
Multiple Blocks:
resource "aws_instance" "example" {
  ami           = "ami-0c55b159cbfafe1f0"
  instance_type = "t2.micro"
}

resource "aws_instance" "another_example" {
  ami           = "ami-xyz123"
  instance_type = "t2.small"
}
Installation of Terraform
Terraform Installation Link Or
Follow These Steps For Linux
$ sudo apt-get update && sudo apt-get install -y gnupg software-properties-common
Install the HashiCorp GPG key.
$ wget -O- https://apt.releases.hashicorp.com/gpg | \
gpg --dearmor | \
sudo tee /usr/share/keyrings/hashicorp-archive-keyring.gpg
Verify the key's fingerprint.
$ gpg --no-default-keyring \
--keyring /usr/share/keyrings/hashicorp-archive-keyring.gpg \
--fingerprint
The gpg command will report the key fingerprint:
/usr/share/keyrings/hashicorp-archive-keyring.gpg
-------------------------------------------------
pub   rsa4096 XXXX-XX-XX [SC]
AAAA AAAA AAAA AAAA
uid           [ unknown] HashiCorp Security (HashiCorp Package Signing) <security+packaging@hashicorp.com>
sub   rsa4096 XXXX-XX-XX [E]
$ echo "deb [signed-by=/usr/share/keyrings/hashicorp-archive-keyring.gpg] \
https://apt.releases.hashicorp.com $(lsb_release -cs) main" | \
sudo tee /etc/apt/sources.list.d/hashicorp.list
Download the package information from HashiCorp.
$ sudo apt update
Install Terraform from the new repository.
$ sudo apt-get install terraform
Terraform With Docker To Run NGINX
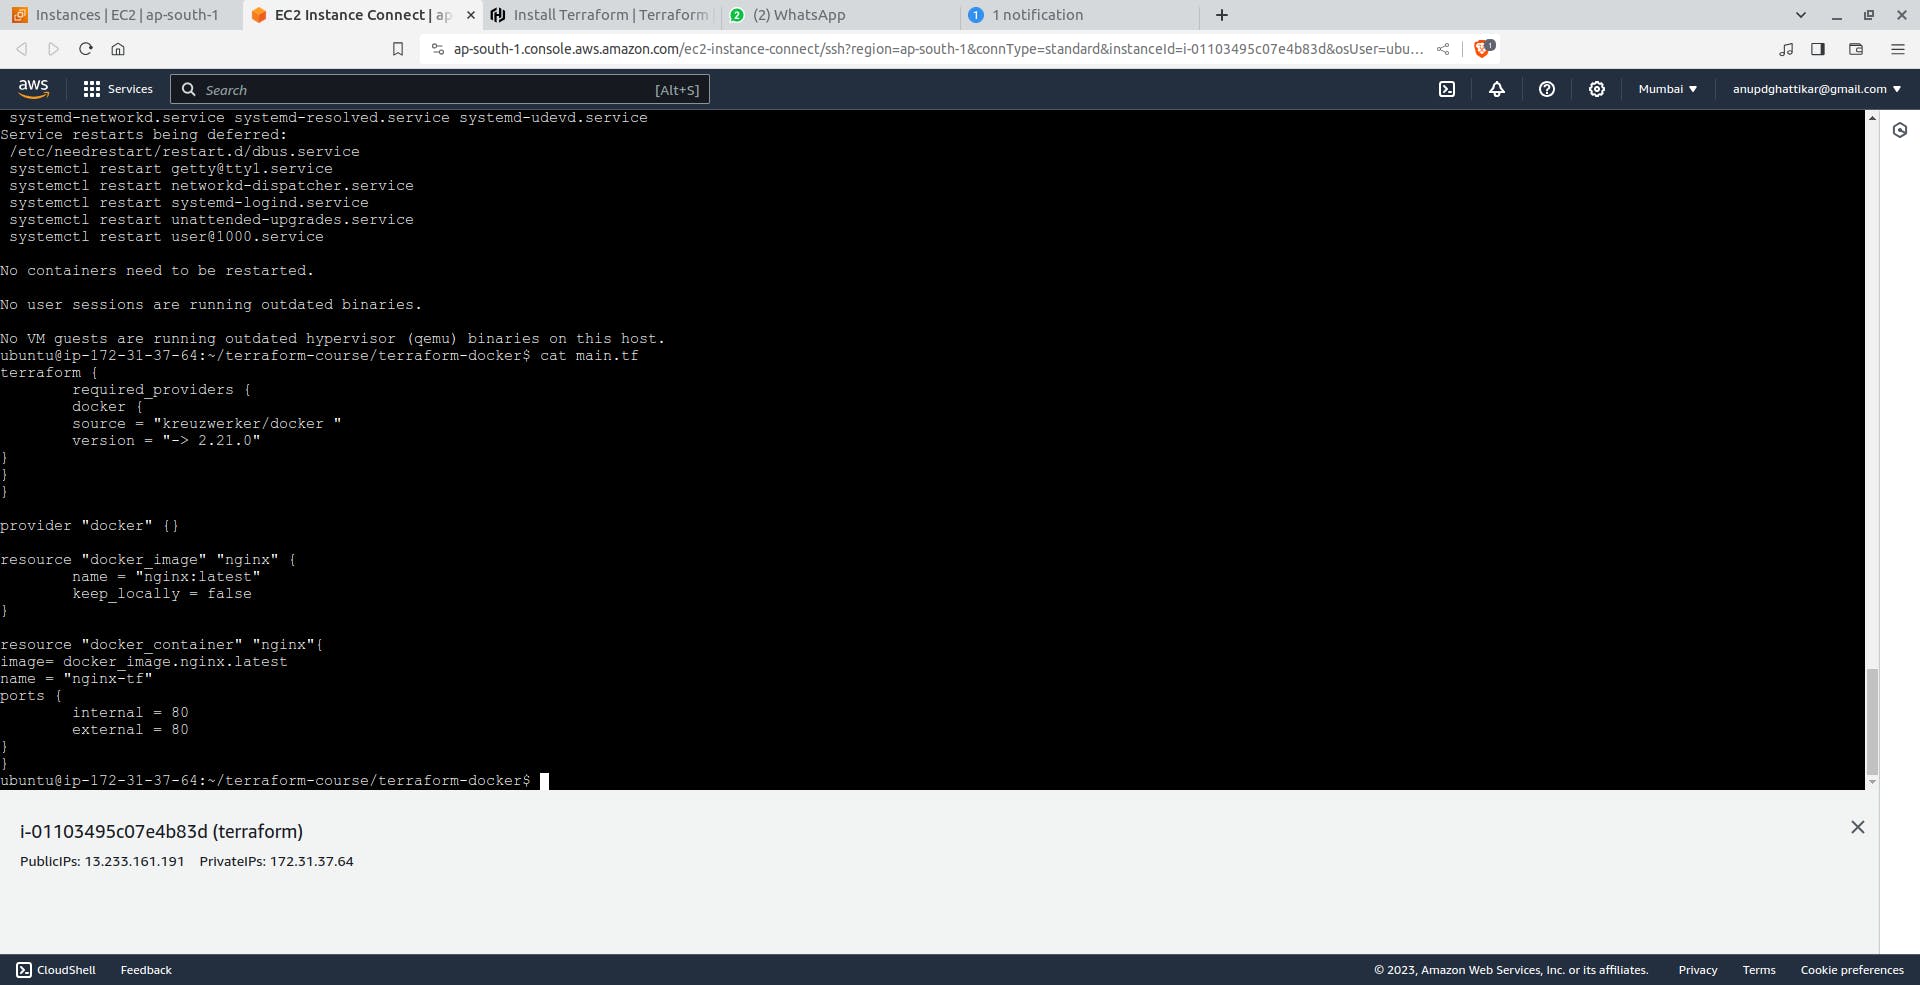
In the working directory, create a file called main.tf and paste the following Terraform configuration into it.
terraform {
  required_providers {
    docker = {
      source  = "kreuzwerker/docker"
      version = "~> 3.0.1"
    }
  }
}

provider "docker" {}

resource "docker_image" "nginx" {
  name         = "nginx"
  keep_locally = false
}

resource "docker_container" "nginx" {
  image = docker_image.nginx.image_id
  name  = "tutorial"

  ports {
    internal = 80
    external = 8000
  }
}
Initialize the project, which downloads a plugin called a provider that lets Terraform interact with Docker.
$ terraform init
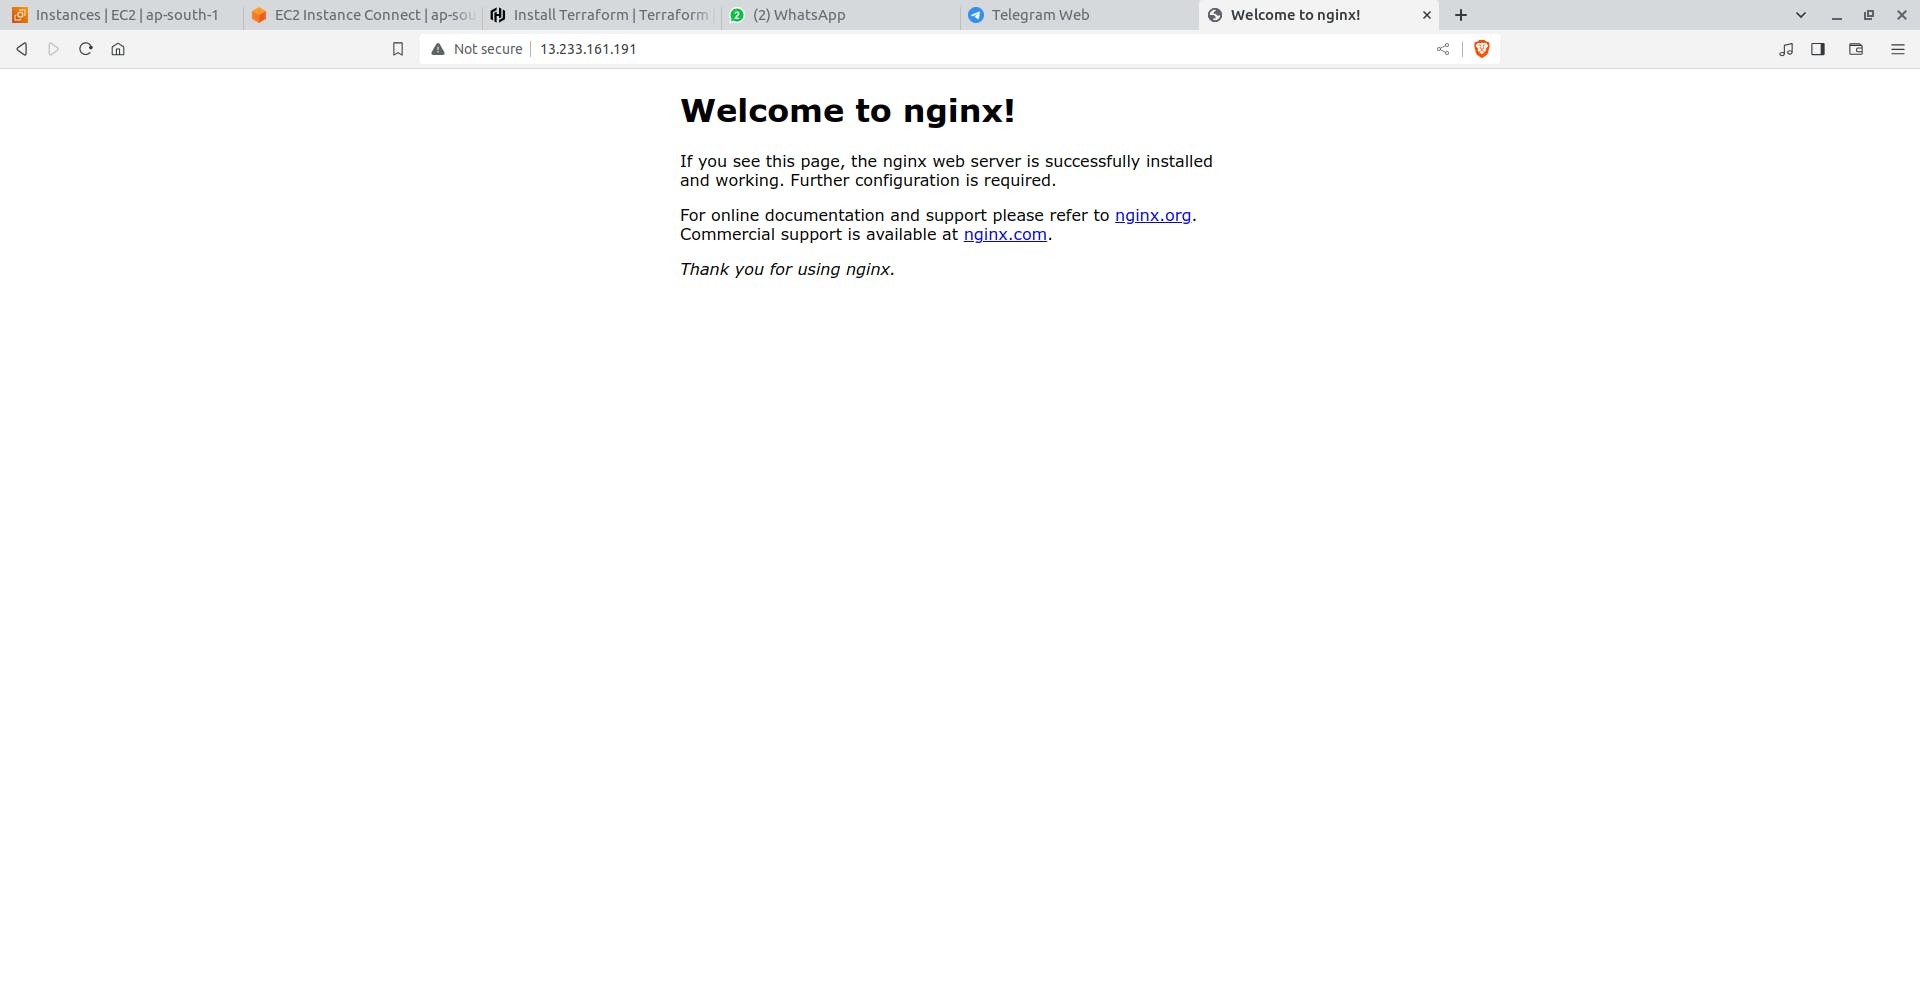
Provision the NGINX server container with apply. When Terraform asks you to confirm type yes and press ENTER.
$ terraform apply
Verify the existence of the NGINX container by visiting localhost:8000 in your web browser or running docker ps to see the container.

$ docker ps
CONTAINER ID        IMAGE                     COMMAND                  CREATED             STATUS              PORTS                    NAMES
425d5ee58619        e791337790a6              "nginx -g 'daemon of…"   20 seconds ago      Up 19 seconds       0.0.0.0:8000->80/tcp     tutorial
To stop the container, run terraform destroy.
$ terraform destroy
You've now provisioned and destroyed an NGINX webserver with Terraform.
Important Terraform Commands
terraform init
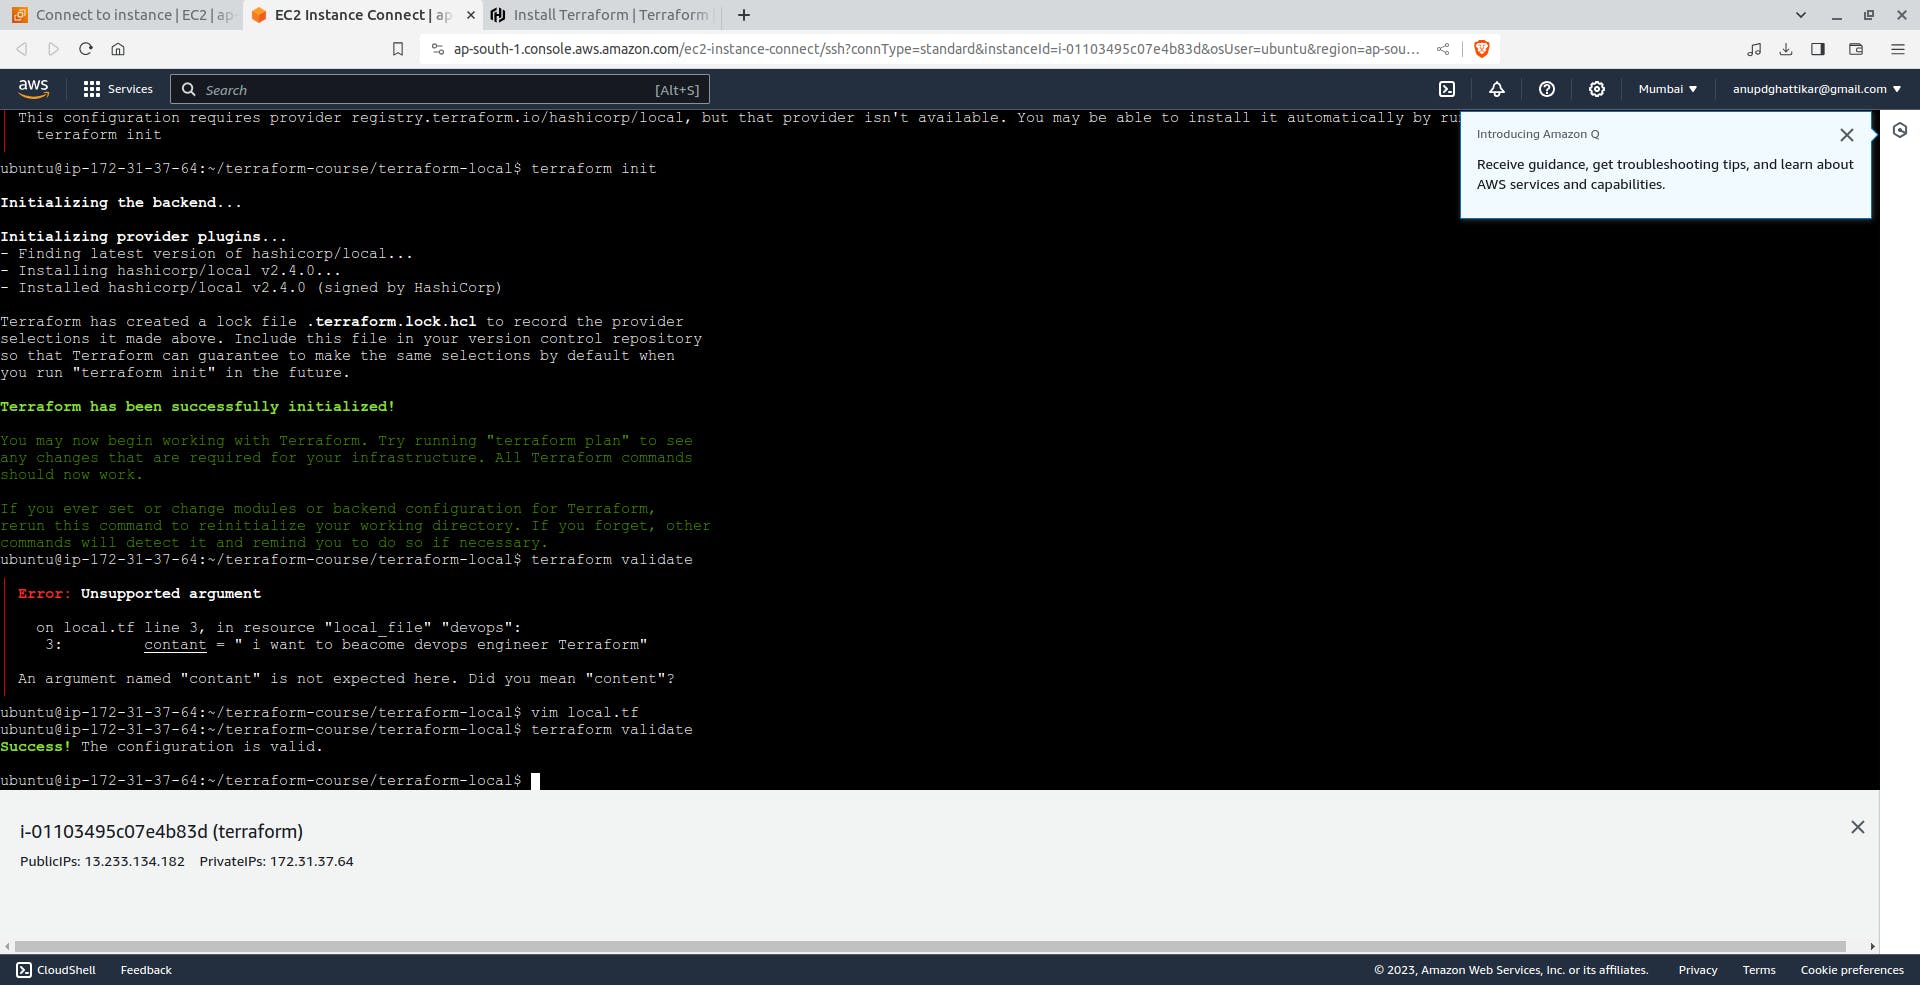
terraform validate
terraform plan
terraform apply
terraform destroy
Lets Start Doing Hands On ......
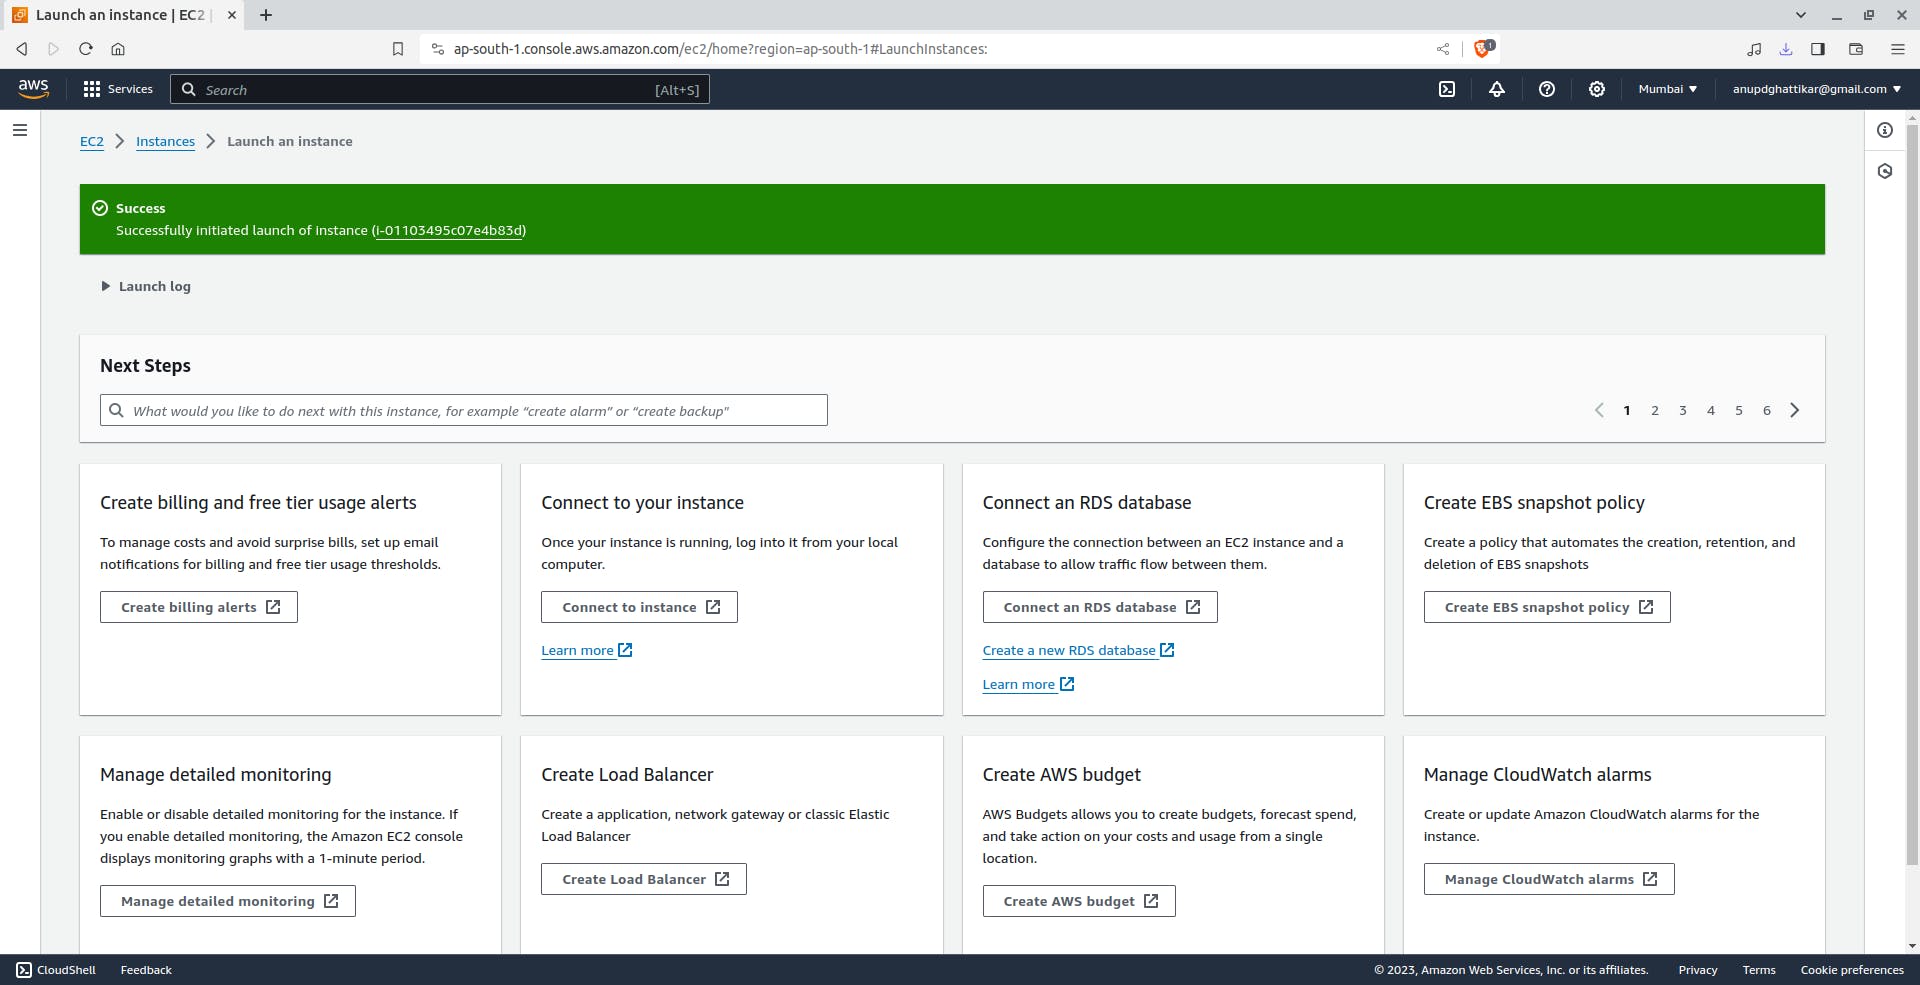
First create on EC2 instance :


Thanks For Reading...........